
How to Fix a Dripping Faucet and Save Water
A faucet that drips once every few seconds can waste far more water than most property owners expect. If you are searching for how to fix dripping faucet problems, start before that steady drip becomes a higher water bill, cabinet damage, corrosion around the fixture, or a larger leak below the sink.
Some faucet repairs are straightforward when you have the correct replacement part and can safely shut off the water. Others need professional diagnosis, especially in older Kansas City homes, rental properties, restaurants, and commercial restrooms where worn valves, mineral buildup, or hidden supply-line issues may be involved.
First, Stop the Water and Identify the Faucet Type
Do not take a faucet apart with the water supply active. Look under the sink for the two shutoff valves, one for hot water and one for cold water. Turn both clockwise until they stop. Open the faucet to confirm the flow has stopped and release pressure left in the lines.
If a shutoff valve will not turn, leaks when you move it, or does not fully stop the water, do not force it. A failed shutoff can turn a small faucet repair into an active under-sink leak. At that point, shut off the home’s main water supply if necessary and call for service.
Next, determine what type of faucet you have. This matters because the repair part is different for each design. A compression faucet usually has separate hot and cold handles that require several turns. Cartridge faucets have one or two handles and move smoothly up and down or side to side. Ball faucets commonly have a single lever and a rounded cap. Ceramic-disc faucets are usually single-handle models with a broad, smooth lever.
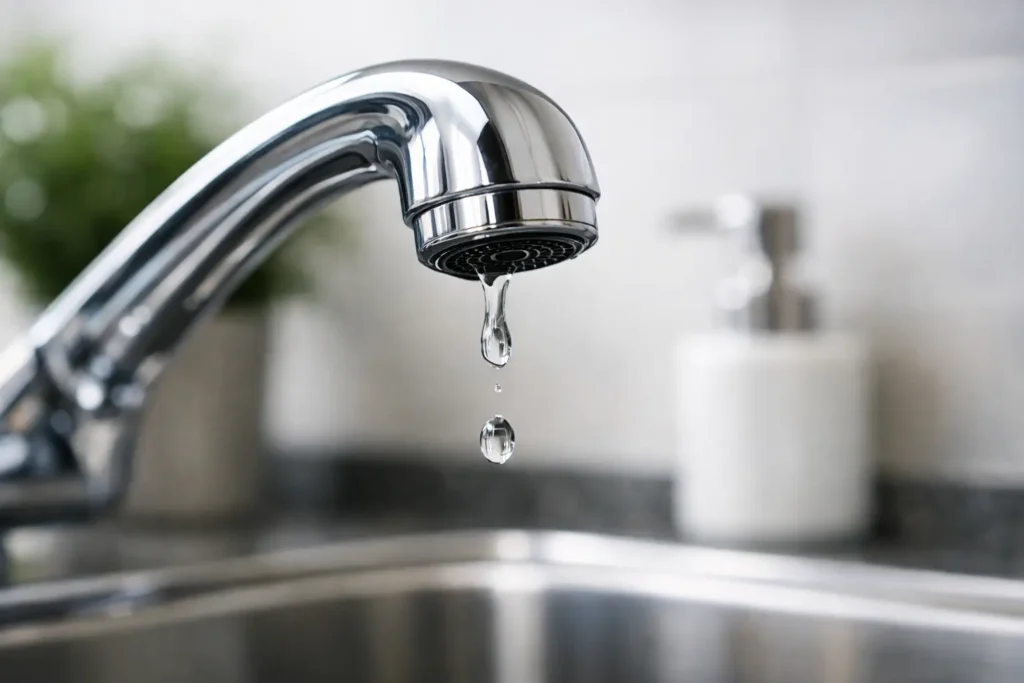
The location of the drip also gives you a clue. Water dripping from the spout after the faucet is off usually points to a worn internal seal, cartridge, washer, or valve seat. Water around the base of the handle often means an O-ring, packing nut, or cartridge seal is failing. Water under the sink may come from supply connections, the faucet body, or the drain assembly rather than the faucet valve itself.
Tools You May Need to Fix a Dripping Faucet
The exact repair depends on your fixture, but most basic faucet repairs call for a few common tools and supplies:
- Adjustable wrench and channel-lock pliers
- Phillips and flat-head screwdrivers
- Allen wrench set for handle screws
- Replacement cartridge, washer, O-rings, or seal kit
- Plumber’s grease rated for faucet parts
- Rag, small bucket, and a drain stopper
Put the sink stopper in place before removing screws or clips. A tiny retaining screw disappearing into the drain is an avoidable problem. Place a towel in the sink basin as well, which protects the finish when you set down metal parts.
How to Fix a Dripping Faucet With Separate Handles
A two-handle compression faucet is often repaired by replacing a worn rubber washer. Begin by removing the decorative cap on the leaking handle. It may pop off with a flat screwdriver. Remove the handle screw, lift off the handle, and use a wrench to loosen the packing nut.
Pull out the stem assembly. At the bottom, you should find a small screw holding the rubber washer in place. Remove the screw, replace the washer with an exact match, and inspect the adjacent O-ring. If the O-ring is brittle, flattened, or cracked, replace it at the same time.

Before reassembling, look into the faucet body at the valve seat. This is the metal surface that the washer presses against to stop water flow. A rough, pitted, or corroded seat can prevent a new washer from sealing. In that case, replacing the washer alone may not solve the drip. The seat may need to be removed and replaced, or the fixture may be better off replaced if parts are no longer available.
Reinstall the stem, tighten the packing nut securely without overtightening it, then reinstall the handle. Turn the water back on slowly and test both hot and cold sides. If the faucet still drips, avoid repeatedly cranking the handle tighter. Excess force can damage the new washer or strip internal parts.
Repairing a Cartridge, Ball, or Ceramic-Disc Faucet
Single-handle faucets commonly use a cartridge, ball assembly, or ceramic-disc valve. These fixtures are durable, but a worn internal component can cause drips, low flow, or leaks at the handle base.
Remove the handle by locating the set screw, which is often hidden under a small cap or on the side or back of the handle. Loosen it with the appropriate Allen wrench. Once the handle is off, take a clear photo of the parts before removing them. This simple step makes reassembly much easier.
For a cartridge faucet, remove the retaining clip or bonnet nut and pull the cartridge straight out. Take the old cartridge to a plumbing supply store when possible, or use the faucet brand and model number to order the correct part. Cartridges may look similar while having different stem lengths, port locations, or hot-cold orientations.
For a ball faucet, inspect the rubber seats and springs beneath the ball. These small parts often wear out first. For a ceramic-disc faucet, remove the cylinder and inspect the rubber inlet seals at its base. Mineral deposits can also keep the seals from closing fully. Clean buildup gently with white vinegar on a cloth, but do not scratch ceramic components or sealing surfaces.
Apply a thin layer of plumber’s grease to new O-rings if the manufacturer recommends it. Do not use petroleum jelly, which can damage some rubber components. Reassemble the faucet in the reverse order, restore water slowly, and test it in both temperature positions.
When a Dripping Faucet Is Not a Simple DIY Repair
A new washer or cartridge will not fix every drip. The problem may be a cracked faucet body, severely corroded valve seat, damaged supply line, failed shutoff valve, or high water pressure stressing the fixture. If you see water below the sink, swollen cabinet flooring, rust on supply connections, or staining on the ceiling beneath a bathroom, treat it as more than a faucet drip.
Commercial properties and rental units should be especially careful about delaying repairs. A small fixture leak can create tenant complaints, slip hazards, mold conditions, and water damage that costs far more than a prompt repair. A faucet that keeps leaking after replacement parts are installed also deserves a professional inspection instead of repeated trial-and-error repairs.
Kansas City Plumbers Today provides fast faucet repair for homes, rentals, and commercial properties across the metro. A trained plumber can identify the failed component, check for concealed leaks and pressure problems, explain the repair options clearly, and provide upfront pricing before work begins.

Avoid the Mistakes That Create Bigger Leaks
The biggest mistake is working on a faucet without verifying that both water supplies are off. The next is buying a “universal” repair kit without confirming that it fits your faucet. A part that is close but not exact may leak immediately or fail shortly after installation.
Avoid using excessive force on old handles, corroded nuts, or plastic cartridges. If a fitting will not move, forcing it can crack the faucet or twist a supply connection. Also, do not ignore a drip simply because it seems minor. Constant water contact wears finishes, leaves mineral deposits, and can hide a developing failure in the fixture or plumbing below.
A repaired faucet should turn on and off smoothly, stay dry at the base and beneath the sink, and stop completely at the spout. If yours does not, getting it checked now is the practical way to protect your water bill and prevent a small plumbing problem from becoming an urgent call later.