How to Test Water Pressure at Home
If you’ve ever noticed weak water flow when filling up a bathtub, you might be wondering about your home’s water pressure. Testing it is straightforward and requires just a few tools. By understanding how to measure and interpret your water pressure, you can identify potential issues before they escalate. Let’s explore the steps involved in this essential task and what your readings really mean for your plumbing system.
Quick Steps to Test Your Home’s Water Pressure
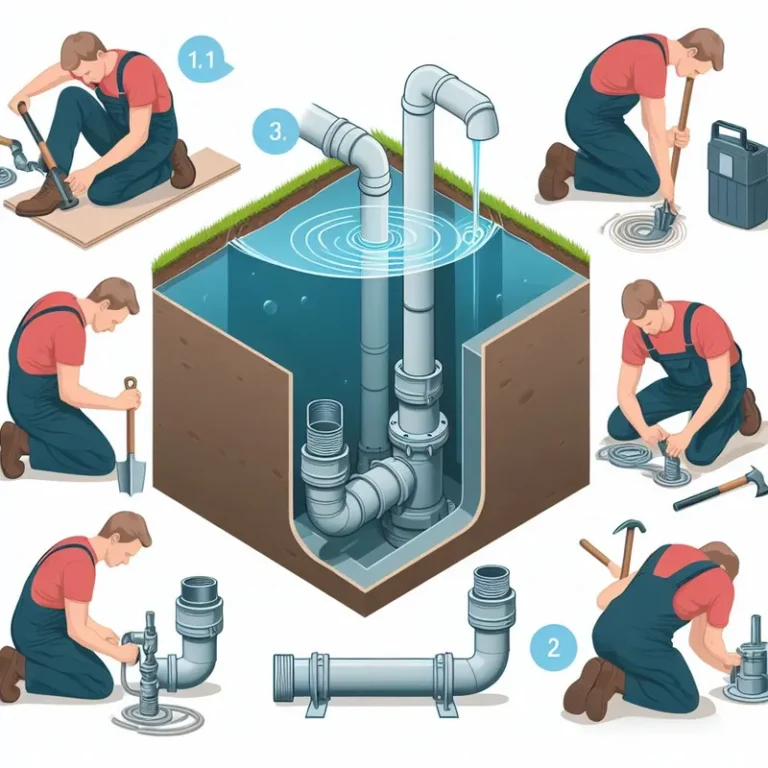
- Gather necessary tools: a pressure gauge, hose bib adapter, and bucket for accurate water pressure testing.
- Prepare your faucet by cleaning it, inspecting for leaks, and ensuring shut-off valves are fully open.
- Install the pressure gauge at an outdoor spigot or near the main water line, using Teflon tape to prevent leaks.
- Open the faucet to stabilize the gauge reading, ensuring accurate pressure measurement.
- Interpret the reading: normal residential pressure is between 40 to 60 psi; consult a plumber if outside this range.
Understanding Water Pressure and Its Importance
Understanding water pressure is vital for maintaining the efficiency of your home’s plumbing system.
Water pressure refers to the force exerted by water within your pipes, influencing flow rates and appliance performance. When pressure levels are too low, you’ll notice weak water flow, affecting daily tasks like showering and washing dishes.
Conversely, excessive water pressure can lead to serious pressure effects, such as pipe bursts and leaks, causing costly damage. It’s important to monitor and adjust your system to achieve ideal pressure levels, generally between 40 to 60 psi.
Regularly evaluating your water pressure helps guarantee that your plumbing operates smoothly, prolonging the lifespan of fixtures and appliances while preventing potential issues that could disrupt your home’s functionality. Additionally, consulting with trusted plumbers in Overland Park can provide invaluable assistance in managing your plumbing system effectively.


Tools Required for Testing Water Pressure
To accurately test water pressure at home, you’ll need a reliable pressure gauge as your primary tool.
Additionally, consider having other testing equipment on hand, such as a hose bib adapter and a bucket for further assessments.
These tools will guarantee you gather precise measurements and understand your water system‘s performance.
Pressure Gauge Selection
Choosing the right pressure gauge is vital for accurately testing water pressure at home.
You’ll encounter various gauge types, such as analog and digital gauges, each with distinct advantages. Analog gauges offer a simple, straightforward readout, while digital gauges often provide enhanced accuracy and additional features.
When selecting a gauge, consider the specific pressure range you’ll be testing; make sure it’s appropriate for your home’s water system. Gauge accuracy is essential; look for models that offer at least ±1% accuracy for reliable readings.
Additionally, a gauge with a durable housing will withstand typical household conditions. Investing in a high-quality pressure gauge will empower you to make informed decisions about your plumbing system and maintenance needs.
Additional Testing Equipment
When testing water pressure at home, having the right tools on hand can greatly enhance the accuracy and efficiency of the process. In addition to a reliable pressure gauge, consider acquiring a pressure testing kit that includes adapters for different fittings. These adapters guarantee a secure connection and prevent leaks during measurement.
A multi-meter can also be useful for verifying electrical components if you’re dealing with automated pressure systems. For precise pressure calibration, a calibration kit is essential; it allows you to compare your readings against a known standard.
Finally, a sturdy wrench will assist you in tightening connections, ensuring a leak-free environment while you conduct your pressure testing. With these tools, you’ll achieve accurate and consistent results.
Preparing Your Faucet for the Test
Before testing your water pressure, it’s essential to prepare your faucet properly to confirm accurate results.
Start by verifying your faucet is clean and free from debris that could impede water flow. Inspect the aerator and remove any mineral buildup, as this can affect pressure readings.
Next, check for leaks, as even minor leaks can skew your results. Tighten any loose fittings and replace worn washers if necessary, as part of your faucet maintenance routine.
Finally, verify the shut-off valves leading to your faucet are fully open to facilitate maximum water flow during the test.
Using a Pressure Gauge to Measure Water Pressure
To accurately measure your water pressure, you’ll need to choose the right pressure gauge for your system.
Proper installation of the gauge is essential for obtaining reliable readings, so make certain it’s securely attached.
Once you have your measurements, interpreting the pressure readings will help you assess if your water pressure falls within the ideal range for your home.
Choosing the Right Gauge
Choosing the right gauge is essential for accurately measuring your home’s water pressure, as a suitable pressure gauge guarantees reliable readings. To ascertain you select the best option, consider the following gauge types and their accuracy:
| Gauge Type | Accuracy | Best Use |
|---|---|---|
| Analog Gauge | +/- 2% | General home use |
| Digital Gauge | +/- 1% | Precise measurements |
| Water Pressure Test Kit | Varies | Professional settings |
Each gauge type serves different needs, so assess your requirements before purchasing. For instance, digital gauges offer enhanced accuracy, making them ideal for detailed analysis. Understanding these options will empower you to achieve the best water pressure measurement in your home.
Proper Gauge Installation
Once you’ve selected the appropriate gauge, proper installation is key to obtaining accurate water pressure readings.
Begin by choosing the right installation location; often, this is at an outdoor spigot or near the main water line. Confirm the area is accessible and free from obstructions.
Before installation, check the gauge calibration to verify it’s set correctly. Attach the gauge securely to the chosen location, using Teflon tape on threaded connections to prevent leaks.
Tighten it firmly, but avoid overtightening, which can damage the gauge. Once installed, open the faucet to allow water to flow through the gauge, confirming it stabilizes before taking any readings.
This careful approach guarantees reliable measurements for your water pressure assessment.
Interpreting Pressure Readings
Understanding your water pressure readings is essential for maintaining a functional plumbing system. After measuring, you’ll need to interpret the data to identify potential issues.
Familiarize yourself with pressure benchmarks, typically ranging from 40 to 60 psi for residential systems.
Consider these factors when analyzing your readings:
- Consistent readings: Indicates a stable system, suggesting no major issues.
- High pressure fluctuations: Can cause wear on pipes and fixtures, potentially leading to leaks.
- Low pressure: May signal clogs, leaks, or problems with your municipal supply.
Interpreting Your Water Pressure Reading
Interpreting your water pressure reading is crucial for maintaining a functional plumbing system. A standard residential water pressure typically falls between 40 to 60 psi (pounds per square inch).
If your reading is below this range, you may experience inadequate water flow, while readings above 80 psi can lead to stress on your plumbing fixtures.
Use these pressure reading tips: always check the pressure during peak usage times and consider seasonal variations.
Understanding the pressure reading significance helps you identify potential issues early, facilitating timely repairs or adjustments.
If your readings are consistently outside the normal range, consult a professional plumber to assess your system.
Mastering this skill guarantees your home’s plumbing operates efficiently and reliably.
Common Causes of Low Water Pressure
Low water pressure can be a frustrating issue that disrupts daily activities. Several factors may contribute to this problem, and understanding them can help you identify solutions.
Low water pressure can be a frustrating challenge, impacting your daily routine and necessitating effective solutions.
Here are some common causes of low water pressure:
- Clogged pipes: Mineral buildup or debris can restrict water flow, leading to decreased pressure.
- Faulty fixtures: Leaky faucets or malfunctioning showerheads can divert water, affecting overall pressure.
- Pressure regulator issues: A malfunctioning pressure regulator may not maintain ideal pressure levels in your system.
Troubleshooting Water Pressure Issues
After identifying potential causes of low water pressure, you can begin troubleshooting the issue effectively. Start by checking for fixture blockages, which can impede water flow. Inspect aerators and showerheads, cleaning them if necessary. Next, monitor for pressure fluctuations; unstable pressure can indicate larger system issues.
| Action | Description |
|---|---|
| Inspect Valves | Verify all valves are fully open. |
| Check for Leaks | Look for visible leaks in pipes. |
| Clean Fixtures | Remove and clean aerators and showerheads. |
| Test Pressure | Use a pressure gauge to assess levels. |
| Evaluate Supply Lines | Verify no kinks or blockages exist. |
When to Call a Professional Plumber
While many water pressure issues can be resolved through DIY methods, there are situations where calling a professional plumber is essential.
Recognizing the signs needing plumber intervention can prevent further complications. Here are key indicators that signal plumbing emergency situations:
- Persistent low pressure despite troubleshooting efforts
- Unusual noises from pipes, indicating potential leaks or blockages
- Visible leaks or water damage around fixtures and walls
If you encounter any of these issues, don’t hesitate to contact a plumber.
They possess the expertise to diagnose complex problems and implement the necessary repairs effectively.
Maintaining Optimal Water Pressure in Your Home
To keep your home’s water pressure at ideal levels, regular maintenance and monitoring are key.
Begin by checking your pressure regulator; it should maintain a consistent range between 40 to 60 psi. Inspect pipes for leaks, as they can disrupt water flow and impact overall pressure.
Clean faucet aerators and showerheads regularly to prevent mineral buildup, which can restrict water flow and affect pressure regulation. If you notice fluctuations, use a water pressure gauge to diagnose issues.
Additionally, assess your home’s plumbing layout; complex systems may require specialized solutions to optimize pressure.
Finally, consider installing a pressure booster if you experience persistently low pressure, ensuring you maintain consistent, efficient water flow throughout your home.